Category Archives: Fermentation

Downsizing Again!

Hello Everyone.  It’s a lovely sunny day  and we’ve decided to take it easy today.  The freezer marathon is nearly over and I have learnt a lot about proper conservation from this experience.  I am down-sizing from a 30 cubic feet freezer to a 10 cubic feet (partly because the big old freezer is not working well and is sucking up electricity like there is no tomorrow).  It was a tremendous feat and quite an eye-opener.  Firstly, I realised that I got into a really bad habit of throwing anything I could find into the freezer because I had the luxury of space.  This led  to chaos and dis-organisation reigning supreme and I could never remember where anything was located let alone know what I actually had.

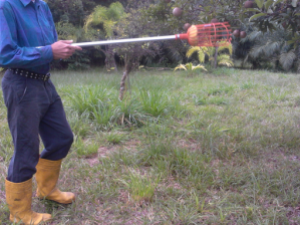
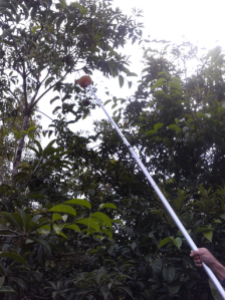
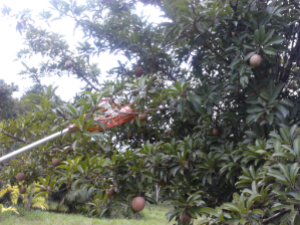
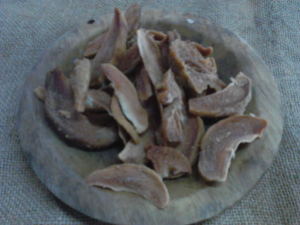
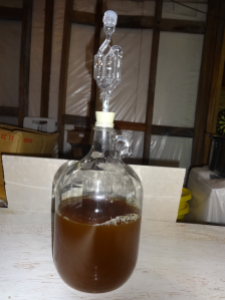
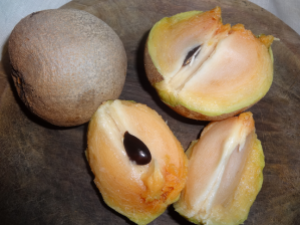
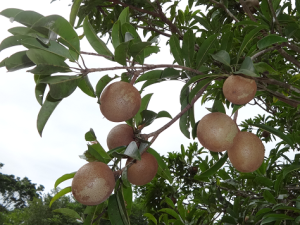
I feel a tad embarrassed to tell you that about a quarter of the freezer was taken up by fruit (which I was saving to make wine or ice-cream…whenever…at some point in the dim and distant future).  I had about 400 sapodilla fruit packed in the freezer amongst a medley of other tropical fruit purees.  When we did our canning marathon, this fruit amounted to only 30 quart sized jars that take up very little space on my shelf (certainly not 7.5  cubic feet!).

Canned Fruit.

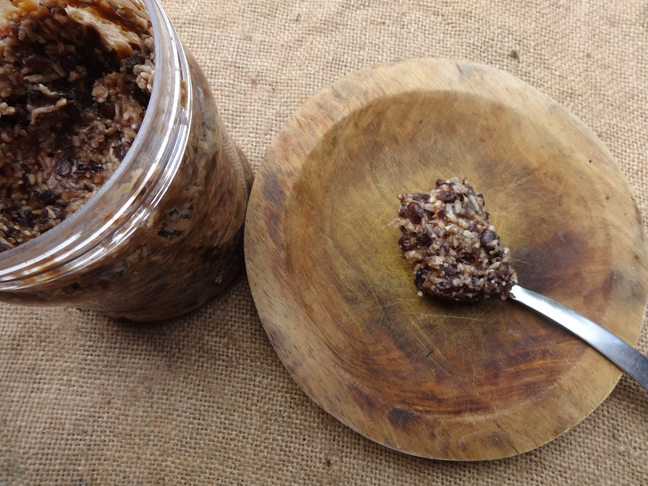
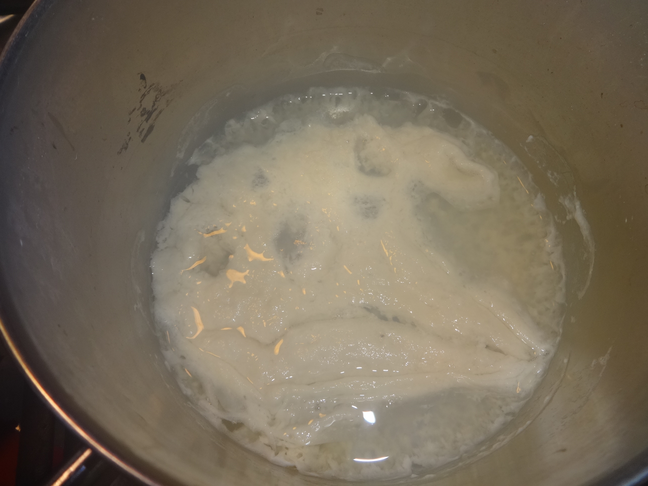
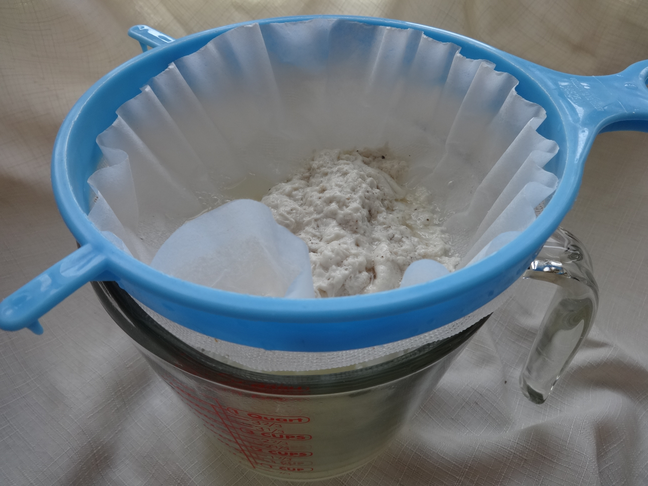
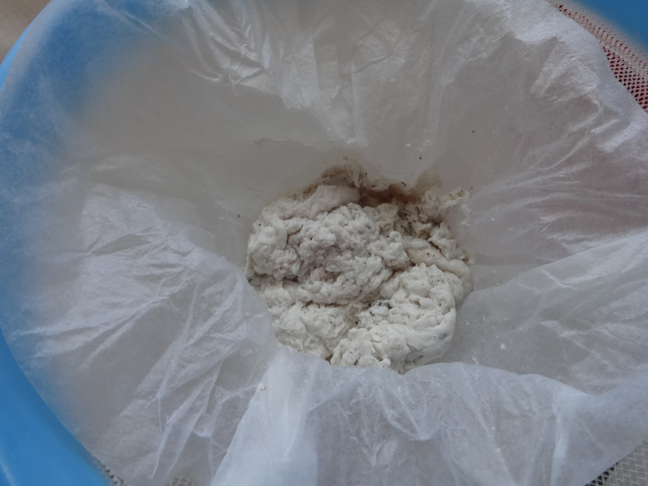
Another quarter of the big freezer was taken up by about 50 packets of pre-cooked cassava.  We managed to convert this into a 5 gallon bucket of cassava miso which is sitting in the corner of the kitchen (inconspicuously taking up a lot less space that 7.5 cubic feet!).
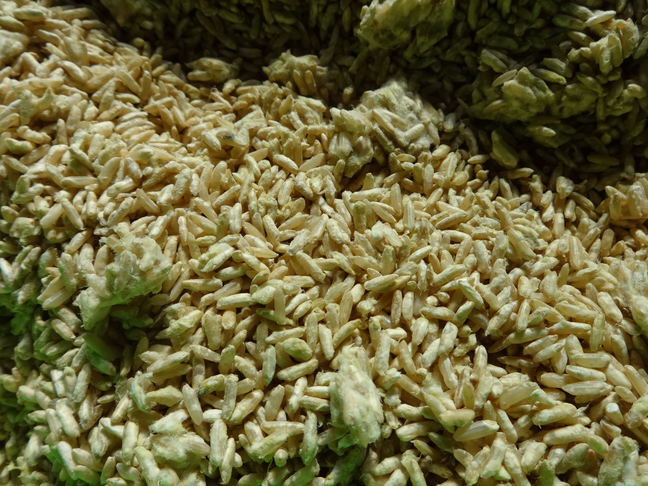
cassava

Converted to miso:

Grinding Cassava.

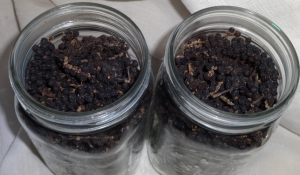
We also canned a 20lb bag of black beans:

Canning Beans.

I am amazed that I have freed up so much space by simply changing the preservation methods.  Plus, I am saving on electricity.

We have 84 quart jars of preserved food including fruit purees, chicken feet(!) and beans.  That’s it…it took up soooo much space in the freezer!!

Preserved Foods.

The rest of my food (which I would prefer to keep frozen) fits very neatly into a 10 cubic feet freezer.  Phew…small is indeed the way to go…makes my life a lot simpler.  Yes, I can actually find food now without my usual crazy chaos!  And, Gnome has urged me to to keep an inventory and has made up a simple  program on the computer for me to use.  Everything is neatly packed in the freezer with clear labelling.  What a difference it makes to be able to find food quickly….Ha-Ha, I have to laugh at myself sometimes!

Just A Thank-You.

Munchkin.More.Eating
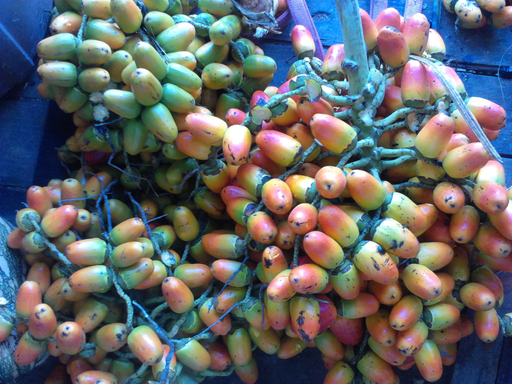
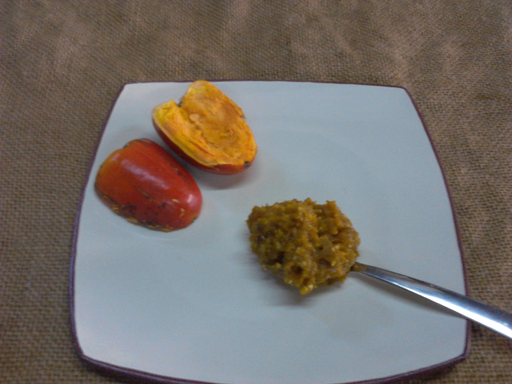
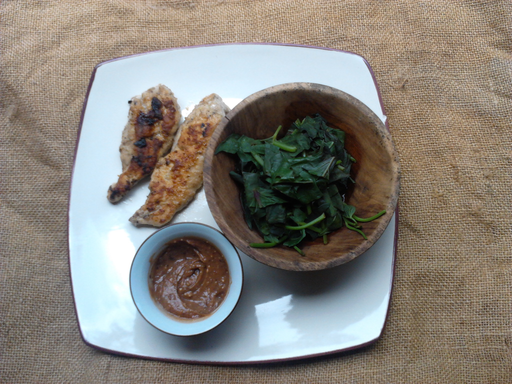
If you follow our posts, you may have realised by now that we enjoy the creativity and inventiveness of harvesting and processing our own food.  Peach Palm Miso was borne out of a fusion of an Asian preservation technique with a farm grown ingredient.   I would like to give a special Thank-you to Julian Obererlacher of Itz’ana, Placencia for his resourcefulness in using our Peach Palm Miso as an ingredient in his menu.

Another Thanks to Enrico Cordenons for providing us with the Itz’ana Menu as follows:

WEDNESDAY 17 FEBRUARY, 2016
 
Sweet/spicy soup of Belizean vegetables with masa
King Estate Pinot Gris 2013 (USA – Oregon)
 
Poblano pepper stuffed with arugula, lentils, Caves Branch ricotta and parmesan
Zolo Malbec 2014 (Argentina – Agrelo Valley)
 
Snook, Casa Mascia Peach palm miso glaze, coco yam puree, grilled zucchini Itz’ana garden chinese greens
Crimson Fetzer Pinot Noir 2012 (USA – Napa Valley)
 
Banana loaf, chocolate, peanut cream, belizean rum caramel, purple basil 
Mayan hot chocolate or Local Rum (Belize Punta Gorda/Placencia)
It is inspiring to see a preference and a confident boldness in using local ingredients.
Itz'Ana Picture.
Itz’Ana Picture.

We have Peach Palm Miso for sale within the country.  Please check out The Apothecary for more information.

Sapodillas In Season!

Together.Tank.Top

Sapodillas (Manilkara zapote) are in season again and this year we have a bumper harvest.  The fruit has a very sweet caramel-honey taste.  We have been picking them every morning.  For an inexperienced picker, the ripe fruit forms a taut and shiny appearance.  At first it is difficult to spot but after picking hundreds of them you can get the hang of it.  Here is a picture of Gnome ready for action on the farm!

Gnome Armed With Fruit Picker.
Picking Sapodilla.
Picking Sapodilla.
Picking Sapodilla!
Picking Sapodilla!

This year, we are going to sun-dry some of them.  We like to eat them with beef jerky!

Dried Sapodilla.
Dried Sapodilla.

Some more sapodilla melomel would go down nicely!

Sapodilla Melomel.
Sapodilla Melomel.

Oooooh, so many to pick and so much to make!!  We will of course eat some of them too…

Sapodilla Fruit, Ready To Eat.

Vernaccia Tasting.

Liqueur.Tasting.TogetherThis is our official Vernaccia tasting after polishing off a fair bit (won’t tell how much…Ha-Ha)…Hic!!  It was soooo good that during the course of drinking it, the name evolved from Vernaccia to Foccacia (can’t believe I am telling you this!) but I guess it means that it is good stuff.  We make it a point not to buy the imported wines in Belize because they don’t travel well and once they get here, they are not stored properly (usually) so it all ends up being rather disappointing.  That’s why we make our own and it is a very fortunate thing that we have an Italian Gnome in our midst who grew up with family wine-making.

Anyway, Gnome has called this particular wine Vernaccia because he says it tastes very similar to Sardinian local (Vernacular) wine.  This particular wine is slightly “darker” than a typical white wine and has full-bodied sherry-like qualities.  We are not growing grapes here (partly because it is too wet and they are rather finicky requiring  a lot maintenance).  Gnome opted to use sapodillas for this wine.  The interesting thing about this fruit is that the PH and Brix tests of this particular fruit fall within the range of grapes.

Sapodilla Fruit, Ready To Eat.
Sapodilla Fruit.
Sapodilla Fruit.

Here is the tasting after six months:

Vernaccia in Glasses.

Colour is amber yellow and very, very clear.

Subtle sweet aroma with mildly floral undertones.

With the first sip, there is a mild honey sweetness, which is full-bodied and coats the tongue with a velvety unctuousness.  Has sherry-like qualities without the heaviness.

Great stuff…so much better to make it yourself!!  This will get even better with time.

Processing White Peppercorns.

Munchkin.Feeling.Rightous

This year we decided to process our pepper into white pepper.  Usually, we just pick them green…

Harvested Green Peppercorn.

And as they dry out in the sun, they become black peppercorns.

Black Pepper.
Black Pepper.

Because I mostly cook Chinese food, white pepper is actually more useful for me from a culinary point of view.  The preparation of white pepper requires a bit more work.  This is what you do:  Pick the peppercorns when they start turning red:

Picked Peppercorn.
Picked Peppercorn.

Then place these peppercorns in water to let them all ferment.  After a while, the water will get bubbly and murky.  Each day, dip your hands in the water and rub the peppercorns with the palms of your hand.  This “retting” procedure loosens the outer shell to release the white peppercorn.  Do this for 7 days…you can throw away the outer shells each day but leave the white peppercorns to ferment and do their magic.  It all gets rather smelly but hey, I think it is really important to understand the value of doing things yourself.  Now I know why ground white pepper costs $30 Belize Dollars per pound and I will no longer complain about the price!

On the 7th day, drain off all the water:

Processing White Pepper.

Separate the white peppercorns:

Sorting White Pepper.

You will find that the peppercorns are at different stages.  Remove the white peppercorns and let them dry out in the sun.  The rest of the pepper (which still has the outer hard shell) can be placed back in a clean bowl of water.  At this stage, you can add newly harvested pepper to repeat the 7 day process of fermentation again.

So there you go.  You will find that when you consciously spend the time and energy in processing your own food, it becomes a matter of necessity.  It isn’t about economics anymore…it’s about eating good food that money can’t buy.

Peach Palm Miso: The Basics.

Munchkin.More.Eating

We have had a great response with our Peach Palm Miso.  A Big Thank-you to all the people who bought it last week.  Their  support is much appreciated.  We even sent one packet on Tropic Air to Placencia. So, yes we can send this food product to anyone within the country via Tropic Air.  It is a fermented product so does not need special refrigeration.  Once you receive it, it should be refrigerated or stored in cool, dry place.  It is best consumed within 6 months but can be kept indefinitely…like all fermented products it actually gets more flavoursome with time.

Peach Palm Miso.
Peach Palm Miso.

To start with basics, to make a simple miso soup, dissolve one teaspoon of peach palm miso in hot water and simply enjoy!  Miso is a healthy pro-biotic food which can aid digestion and helps maintain healthy digestive flora.  Moreover, our miso, is made with peach palm and white rice koji only so it is completely gluten-free.

Miso.Soup.

Anyone interested in purchasing Peach Palm Miso, please contact us by email or Facebook.  We can deliver within Punta Gorda on Wednesdays (tomorrow) or send by Tropic Air to the destination of your choice within Belize. Check out The Apothecary for prices.

Peach Palm Miso Tasting.

Munchkin.Eating.Bun.SmileAbout two months ago, we had so much peach palm (pejibaye) that we had to think of different preservation methods for it.

Peach Palm Fruit.
Peach Palm Fruit.

We cooked the fruit and the put it through the meat grinder with rice koji to make peach palm miso.

Ground Peach Palm with Rice Koji.
Rice Koji.
Rice Koji.

We placed it all in a bucket and put it away for a couple of months:

Peach Palm Miso.
Peach Palm Miso.

Just the other day, we opened up the bucket for a tasting:

Peach Palm Miso.
Peach Palm Miso.

We both concluded that it was a very nice amber-orange colour.  The taste was fruity, hearty and pleasantly sweet.

Gnome: Very good, surprisingly good.

Yum.Yum.Gnome

Munchkin: Fruity!!  Can double-up as a condiment with french fries!

Munchkin.Another.Eating.ShotPeach Palm Miso is a definite winner and the taste will get even better with time.

Double Miso Pan-Fried Chicken Breast.

Munchkin.More.EatingI originally made this meal at the beginning of the week and was all ready to post up the recipe until I discovered that Gnome had unwittingly erased my photograph.

Double Miso Pan-Fried Chicken. Second Picture.

When I told him that I would have to re-create this dish today, to get a picture, he said rather half heartedly, “Oh dear.  That is a shame.”

What a Shame!
That is a Shame!

This recipe is so-called because the chicken is marinated in miso before being pan-fried and it is served with miso ketchup.  If you follow our blog, you will know that we make buckets and buckets of home-made miso.  Because I have so much of it, I am fortunate enough to have the opportunity to experiment with this wonderful live food in more creative and innovative ways.  In fact, I use miso in all our cooking now instead of salt and soya sauce.  The miso adds a distictive umami flavour which adds a whole new dimension to a meal.  In this recipe, I used our shiro miso which is made mostly of white rice which has a sweet and mild taste.  No flour is used in making our miso so it is also gluten-free.

Home-Made Shiro Miso.

Check out the recipe Double Miso Pan-Fried Chicken in Belize Wild Recipes.

Coconut Feta Cheese Update and Gnome Project.

Munchkin.More.EatingLast week, I wrote about making coconut milk cheese – feta style…this is the update. After the three days of dry brining, I took out the cheese and cut it into pieces like so:

Coconut Feta Cheese.

The cheese had dried to a firm consistency and so it was easy enough to cut without too much crumbling.  I then placed them in 7% brine; one jar with bay leaves and the second flavoured with whole black peppers.

Flavoured Coconut Feta in Brine.

I am going to leave the jars out at room temperature so that they can ferment further for two weeks.  After that, I will I will let them continue to ferment for several months in a cooler area (probably the refrigerator).  Hope they taste good after all the waiting!!

Gnome Update:

Gnome.Doing.Magic

Gnome has started on a project where he is digging out a small pond next to the house:

Pond Digging.
Pond Digging.

He has also started up some lotus seeds in a basin which have germinated and come up nicely:

Growing Lotus in Basin.

The plan is to have a lotus pond next to the house.  Apart from the beautiful flowers, we also want to grow them for food.  We would eventually like to make our own lotus paste to make Chinese sweets:

Lotus Paste.
Lotus Paste.

This was sent to us as a gift all the way from Singapore; I am saving it to make moon cake this year.  Also, lotus seeds are really tasty in Chinese soups…yes, you can actually buy these in Belize!

Dried Lotus Seeds.
Dried Lotus Seeds.

Lotus root is also quite a treat and I would love to grow some of our own because I haven’t eaten it for over a decade since I came to Belize.  It will probably take over a year before we can harvest any to eat.

Aaaaargh…more waiting!!

Making Coconut Milk Cheese: Feta Style.

Munchkin.Eating.BunHello!! We are back in action with more interesting things to show you because we have procured a camera. I finally bit the bullet and bought a new android phone…one of those blocky looking things with a camera (of course) and many things that do not concern me like the Android and the numerous applications. Gnome is messing around with it in his Gnomish way and actually having a lot of fun with the gadget!

Anyway, we have been making cheese out of coconut milk. Coconut milk, along with the cream, can be hand-squeezed out of grated coconut.

Grated Coconut.
Grated Coconut.

This liquid eventually separates into the thick, white cream at the top and the coconut milk at the bottom. We sell off our coconut cream to the local market as Belizeans like to cook their rice and beans in this.  For the Toledo readers, you can buy this from Green Supaul’s in Punta Gorda.

Coconut Cream For Sale.

We kept the coconut milk until we had acquired a volume of about 2 gallons (8 litres) which was roughly equivalent to about 100 coconuts in total. The coconut milk is high in protein (similar to milk) and so we decided to try to make “cheese” out of it.

Coconut Milk in Pot.

First of all, we placed the coconut milk in a stainless steel pot and boiled the milk until it produced curds which floated up to the surface. This takes about 30 minutes and you have to keep on stirring to prevent the curds from sticking to the bottom of the pot.

Coconut Curds on Surface of Boiled Coconut Milk.

We allowed this to cool down for about two hours and then drained the curds into a cotton towel on a sieve (you can use cheese cloth…we just didn’t have any).

Draining Coconut Curd.

This was left to drain overnight and the liquid part, the whey, was collected in a basin under the dripping curds. At this point, it looks and tastes very similar to ricotta cheese and you can eat it at this point if you prefer. We gave the whey to our animals to drink.

Coconut Ricotta.
Coconut Ricotta.

The next morning, we wrapped the drained curd in a towel and placed it between two clean blocks of wood and applied a weight on it (5 gallon carboy containing wine). After 24 hours, we removed the weight.

Pressing Coconut Cheese.

To make this into feta-style cheese, we removed the coconut cheese from the cloth and placed it in a clean glass container. Next, we added about 1 cup of salt to dry salt it.

Dry Salting Coconut Feta.
Coconut Feta, Unsalted.
Coconut Feta Salted.
Coconut Feta, Salted.

This was done this morning and we will leave it to salt for three days. After that, we will cut the cheese into cubes and store them in brine.  We will let you know what it tastes like…so far so good.