Tag Archives: Rice

Sticky Rice, Nori Flakes, Kun Batz and Stinky Tofu.

Munchkin.More.EatingHello Everyone!!  I am back in top form and promise that there will be no complaints today!  Many thanks to the readers (namely, Erin and Adriana) who wrote back with a positive word and encouragement.  Thanks to Gnome’s Mum for looking at 9 pages and the flurry of visitors after last night’s post.  We indeed felt that life was worth living again. 😉

In a bid to increase our Stats, Gnome kindly wrote a post earlier on Ballistics…Hmmm…I am sure everyone stopped whatever they were doing to look at this must-read!  Gnome reveals all in his mind-blowing revelations on pellets!  Just out of interest, I don’t give Gnome any pocket money for his pellets and so he funds his pass-time through coconut products.  So, if you have bought any coconut cream, water or flour, you have helped Gnome out.

Gnome.Funny.FaceGnome says, “Buy more of my coconuts!!”

Because it is a lot hotter, we have not been feeling so hungry hence the reason for less recipe posts.  However, I thought it would interesting to let you know what we had for lunch today.  In our last trip to Belize City, we stopped by the Taiwanese store to buy some goodies…interesting that when we think of buying yummy treats we always go for Chinese or Japanese food.  We found some short grain rice (the kind that you use to make sushi), nori seaweed and stinky tofu.

Today, I boiled the sticky rice in our coconut cream…yes, the one that we sell in little bags!  I also added whole black peppercorns to spice it up a bit.  I toasted the nori flakes in a skillet and I brought out the stinky tofu.

Rice, Nori, Kun Batz and Stinky Tofu.

The vegetable featured on the top right is Kun Batz.  This is a wild passiflora vine which grows voluntarily in cleared areas.  This plant produces fruit which can be eaten green like a vegetable; here I have cut it into pieces, steamed it and added soya sauce.

With plenty of vitamins and minerals from the sea-weed and B Vitamins from the stinky tofu, there was no need to include meat into the meal today.  It was yummy!!  Hooray for smelly (sorry, I mean fragrant) Chinese food!

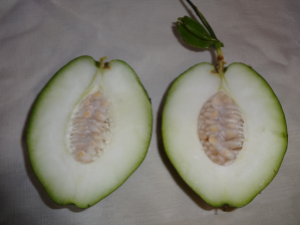
Some pictures of Kun Batz (This is the Ketchi Mayan name):

Wild Passiflora Flowers (Kun Batz).
Kun.Batz.Green.Fruit
Kun Batz Green Fruit.
Kun Batz Halved.
Kun Batz Halved.

Here in Belize, the Mayans prize this fruit considerably and like to eat it in its ripe form.  Once ripe, the flesh turns yellow, spongy and inedible.  The pulp around the seeds is eaten and has a fruity floral taste which is esteemed by the people here.  It can eaten out of hand or used to flavour cool drinks.  It is very similar to the giant granadilla (Passiflora quadrangularis).

Good Evening everyone!!  May all our lives become so simple that Blog Stats become the most important thing!!

Rice-Banana-Coffee Beer Tasting.

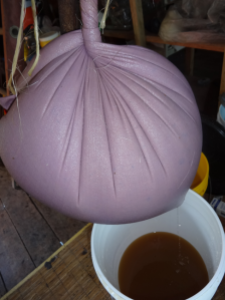
Liqueur.Tasting.TogetherDo you remember the Mystery Beer which was made about 2 months ago?  Yes, the one that involved lilac sheets!  This was bottled last Wednesday and at that time, I had a quick taste and I have to admit that I just noted the “burnt” flavour from the coffee but nothing to get overly excited about.

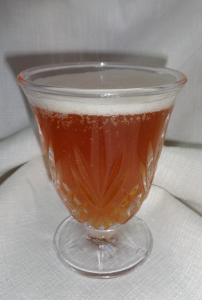
Rice-Banana-Coffee Beer.

Well, here is the tasting after one week of bottling:

Colour is red amber and very effervescent; small sized bubbles with moderate fizz.  Clear with good head.

Smells like strawberries!  Lovely fresh strawberry smell, like walking through a strawberry field.  There is a lingering berry sweetness.

With the first sip, there is an immediate delicate and distinct taste of strawberries!  There is a mild sourness and the last flavour component is the coffee taste which compliments the whole experience.

Wow, this tasting is truly amazing!  I can not believe that a beer can develop such complex taste components in just 7 days.  It has captured the taste of delectable strawberries even although this fruit is not an ingredient.  The rice and banana combined has given this unique and fruity taste.

After this tasting, I thanked Gnome for his love and discipline in making beer (and his general practices in life).  It is quite interesting to note that Gnome does not drink much and in fact, makes fermented beverages because he actually enjoys the whole making process.

Thank-you Gnome For Your Fermentation Magic!

Making Coconut Flour and Cream.

TogetherMaking Coconut cream and flour involves quite a few steps, a little muscle, time and diligence.  When you do everything from scratch, you realise the value of what you are actually making.  The making of the cream and flour go hand in hand as you will see from the following steps:

Firstly, Gnome has to climb a coconut tree to harvest and then he de-husks them.  Next, he splits them in half and grates the flesh with a shredder attached to a hand-drill.

Grating Coconuts.
Grating Coconuts.

The next step is to squeeze the liquid out of the coconut.  I usually add some boiling water to the coconut and I squeeze the shredded coconut through a muslin cloth to get all the milk and cream out.  This is done in small portions in order to maximise the quantity and once all the milk/cream has been extracted, the shredded coconut is placed in trays and laid outside to sun-dry.

Coconut Meal Ready For Drying.

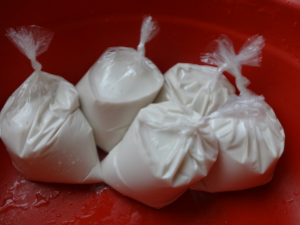
Meanwhile, the liquid is placed in the fridge and as it cools down, the milk separates to the bottom and the cream forms a layer a the top.  The cream is skimmed off the top, a number of times, and poured into these bags for selling:

Coconut Cream For Sale.

Each bag contains the fresh cream of one coconut.  Belizeans like to cook rice with this; a Belizean cook in Punta Gorda told me that he just needed one of these bags to cook a 5lb pot of rice.  Another great way to use this cream is to indulge in a pina colada or blend with fruit to make a yummy coconut “shake.”  You can even use it in bread making to give a silky texture to a loaf.

Usage and Storage of Coconut Cream:

Our coconut cream is sold in the frozen state.  Store in the freezer.  When you are ready to use, simply use it in the frozen state.  If you only require a small amount, cut off a chunk with a knife and store the remaining cream in the freezer.  The shelf life of this product is 6 months if stored properly in the freezer.

Anyway, back to the shredded coconut; it takes about 6 to 8 hours for it to completely dry in the sun.  Once dried, the coconut is put through a stone mill to grind it into flour.  You end up with a fluffy meal which is perfect for breads, pancakes and muffins and it is has the added bonus of being gluten-free.

Coconut Flour.
Coconut Flour.

The coconut flour has a nutty flavour which adds texture to all kinds of foods.  1lb (454g) of this flour contains the meal of about 6 to 7 coconuts.

Usage and Storage of Coconut Flour:

Coconut flour is highly nutritious so should be stored in the refrigerator or freezer.  The coconut flour can be stored in the fridge for up to 2 weeks.  Otherwise, it can be stored in the freezer for up to 6 months.  We usually deliver this product in the frozen state; in order to thaw this product, simply place in the fridge for 24 hours.

We are currently selling coconut cream, stone-ground coconut flour and rice flour within Belize.  The coconut cream can only be sold within Punta Gorda.  However, flours can be transported anywhere within Belize.  Please check out The Apothecary for our Health Food prices.

Making Melomel.

Another.TogetherAnother jam-packed day of fermentation!!  This is really a Gnome post but I will make a serious attempt to chronicle the day in the same enthused manner as Gnome.

Well, we started the day off by bottling the mead, which never cleared.  Gnome gave me a glass to sample and I promptly scoffed it all down and told him that it was very palatable.

Next, Gnome attended to his Rice Koji in between all the bottling and brewing.  He is trying to develop a new system of inoculating cooked rice with previously made rice koji.  That way he doesn’t need to use up Koji starter and he can feel assured that he can keep on making rice koji without the headache of bringing in the starter from overseas.  This experimental batch is going really well and the Aspergillus oryzae seems to have colonised well and formed a lattice network.  This new system is called: Special Care Koji Unit (SCKU)…this is a bit of a Doctor joke so please bear with our awful sense of humour!  As you can see from the picture, Gnome has fashioned incubators for his koji babies:

Koji Incubators.
Koji Incubators.

And yes, we are making melomel which is mead which contains fruit; in this case sapodilla and carrot were added.

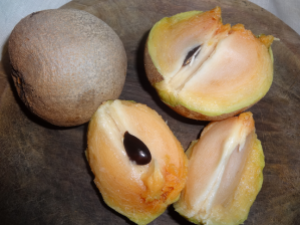
Sapodilla Fruit, Ready To Eat.

I won’t go into the technical parts of making melomel because this is going to be a Bored-in-Belize project (Gnome:  I’ve added the recipe right HERE) so I will just give you a brief run-down of what we did.  Firstly, sapodilla fruit was placed in a  heated pot of water and allowed to partially breakdown.  Next, the mixture was filtered and the pulp was squeezed through muslin.

Sapodilla Wort.
Sapodilla Wort.
Straining Sapodilla Pulp.
Straining Sapodilla Pulp (Gnome feet prove that this really happened!)..

This part was a Munchkin job:

Squeezing Sapodilla Pulp.

After the liquid was procured, Gnome measured the specific gravity and added 6 quarts of honey to make up the alcohol content to about 12%.  As we speak, Gnome is re-heating the whole mixture including the added honey; he will allow it to cool down overnight and then add yeast in the morning.  More fermenting tomorrow…

Washing Machine On A Car, Iguanas and Mystery Beer.

Full.Length.MunchkinThis title sums up up the last three days since we have missed a couple of daily posts.  Firstly, we have been on the road again and as usual played our “Fridge on a Pick-em Up” game in which there is a points system allocated to various white goods, and assorted loads spotted on the back of pick-up trucks.  The fridge gives the highest score of 1000 points hence the given name.  Well, look what we managed to find on our travels!!  Gnome says, “This Changes Everything.”

Washing Machine on a Car!

This is white goods on a car…not a pick-em up!  With the eye of faith, the driver who is on the left-hand side has his arm up to help secure the load…we know that because we overtook him (but, I was in too much of a tizz to get another drive-by shot) and he had no free hands to give the customary cordial wave.

Gnome commented rather blandly,” We are going to have to change the points system.”

Hmmm…yes, indeed we do!

Onto the next thing: It has been pouring down the last 5 days in Toledo.  This sudden, unexpected wet spurt during the dry season is called “The Iguana Rains” because the rain is supposed to soften the earth for the iguanas to lay their eggs.  This happens every year without fail…but we have noticed that every year, people forget about this anomaly and scratch their head wondering why it is wet during the dry season.  And, as if by magic, we had a lovely iguana appear on our water tank today; I am sure he/she knows what the rains are for!

Hello Mr. Iguana!
Hello Mr. Iguana!

He was nice enough to pose for a second picture since I saved him from our Shaneeka-Doggie:

Second Pose.
Second Pose.

And, last but not least: do you remember when Gnome was making a mysterious fermented drink that required my nice lilac sheets?

Mystery Beer!
Mystery Beer!

The mystery beer was unveiled today with a tasting and bottling:

Siphoning Beer.
Siphoning Beer.

Gnome is happy with the clarity:

Mystery Beer.
Mystery Beer.

The Beer is Rice-Banana-Coffee all rolled into one!  Who would have thunk it!!  Still tastes very young with a roasted aroma from the coffee.

Glutinous Rice Balls: Belizean-Style.

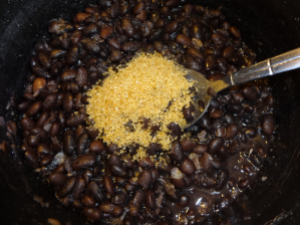
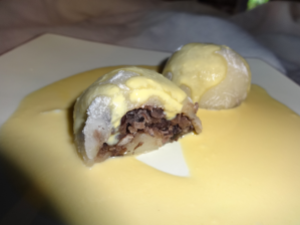
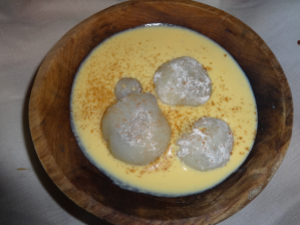
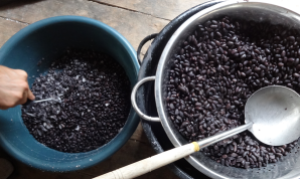
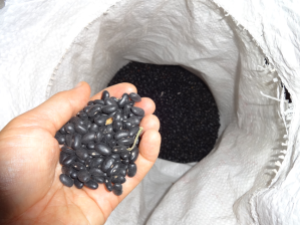
Food.MunchkinIt was really cold today…30C which is a drop from the usual 40C so we were both seeking some warming, comforting food.  So, today I made steamed glutinous rice balls…I have deliberately not called them mochi balls because they are made Chinese-style ie. the way I watched my mum make them and she is Chinese.  I note that mochi balls are made from steamed dough which is cut into rounds, filled and then ready to eat.  My recipe uses uncooked glutinous rice flour dough, which is filled and then steamed.  Instead of the typical red bean paste, I made sweetened black bean paste and because black beans are eaten here in Belize, I have called the recipe Belizean-style!

Black Beans.
Black Beans.

Munchkin serving suggestion:

Photo Shoot.
Photo Shoot.

This is how we really ate them:

Glutinous Rice Balls and Custard.

If you want the full recipe, please click on the link for Glutinous Rice Balls with Black Beans.

Miso Madness V…The Next Generation.

Gnome.Looking.Serious

On this day the Miso Mission has been accomplished.  The rice koji was ready and properly colonised and both of us were in the right frame of mind, with only a mild attack of filibustering on Munchkin’s part (she had very specific plans as to what she expected to do this morning), to tackle the mountain of beans and gallons of purple-black bean juice (from boiling said beans) required for the making of our Belizean-Style Black Bean Shinshu Miso.

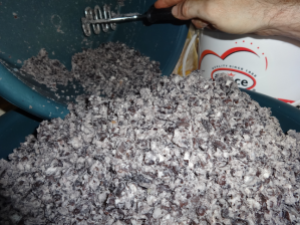
The black beans were defrosted, boiled to tenderness (which thankfully doesn’t take too long with black beans), drained and then mashed.  The use of words makes things appear so easy but while doing, it certainly seemed that there was a veritable mountain of beans.  I left the temperature probe out of the rice koji and room temperature was 36C, so the mashing built up a bit of a sweat.

Starting to mash the beans.
The Never-Ending Beans!

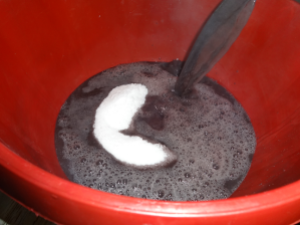
In the mean time, Munchkin, while muttering to herself that she needed to do other stuff, mixed the bean juice with sea salt, cooled it and added some commercial miso to the mix (for extra lots of beneficial microorganisms).  Thank you, Adriana Guzman for giving us some for this purpose.

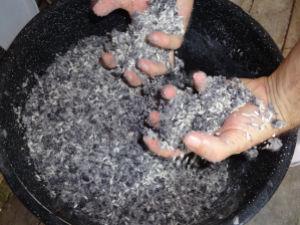
Black Bean Juice, Sea Salt and Old Miso to Make the Liquid Portion.

The rice koji had to be added to the beans and mixed well.  Using a spoon did not work and I had to resort to using my hands…you can see the excitement that was gripping me at the time!

Adding the Rice Koji to the Mashed Beans.
My hands convulse with excitement as I mix everything together!

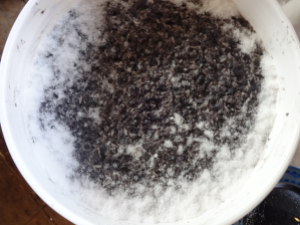
After adding the liquid portion and mixing again, it was time to fill the prepared 5 gallon pig-tail bucket.  This accomplished, a nice layer of salt was added on the top for protection against undesirable microorganisms.

Bucket-Full-of-Miso Ready for Sealing.
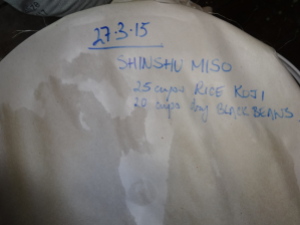
Sealed Bucket...only have to wait 12-18 months now.
Sealed Bucket…only have to wait 12-18 months now!!

What happened next was a total, super bonus for me, though it earned me this look from the Munchkin…Munchkin.Upsidown.Upset

…there was still a whole lot of rice koji left and in the back of my mind I couldn’t help but think of the 28-day Miso Countdown before we run out…the solution…shiro miso.  This type of miso is made up mostly of rice koji, only half the salt and a little bit of beans (compared to shinshu).  The beauty of it and the reason why it is of critical importance right now, is that it only takes four to eight weeks to mature.  Bonsa…we have the answer to our miso shortage!

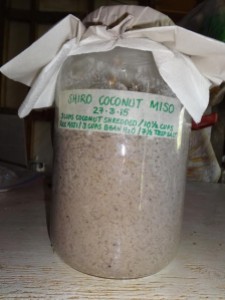
So, I figured we could make a test gallon of this sweet miso but after measuring out the required koji, realised that we used up all the beans in making the monster bucket; we still had bean juice left-over but no beans.  Resolution:  fortunately I had already grated the day’s quota of coconuts and Munchkin had already squeezed out the cream from them (for selling in town to people that don’t want to buy cans or powdered coconut cream) and we were left with the meal.  We decided to experiment and replace the bean portion of the miso with de-creamed coconut meal.  Once the cream is removed, what is left is actually quite high in protein and while not a legume, it might make a good replacement for beans (it also makes things Belizean and exotic!).  We still used the left over bean juice though.

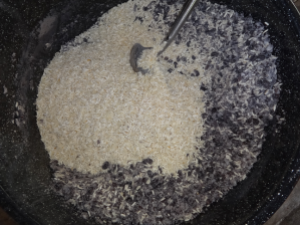
Mixing the coconut, rice koji and salt.

The bean juice gave everything a slight purple tinge (pretty cool, actually!)…

Bean Juice Added to the Miso.

Here it is packed into a gallon jar:

Coconut Shiro Miso.
Coconut Shiro Miso.

You would think that this was enough…hee…hee…hee…but I got another look shot my way…

Munchkin.Fury…there was still another lot of koji left to make another batch…so we did…

Five gallons of shinshu miso and two gallons of shiro miso…not bad for a day’s work!!

Day Four of Miso Madness.

Gnome.SmilingIt is hot yet again, slightly more humid though, perhaps.  Munchkin is keeping herself busy and has left me to my own devices.  I was excited that today was THE day for transformation of the rice koji into miso; afterall, we did soak black beans in preparation and the big pressure cooker was cleaned and readied for action.  However, upon close examination of the inoculated rice grains, I made an executive decision and decided to go for another twenty-four hours.  The soaked black beans have been transferred into the freezer until the time is right.

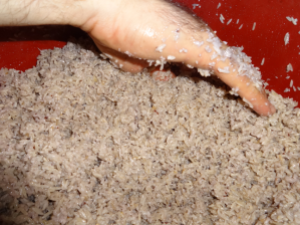
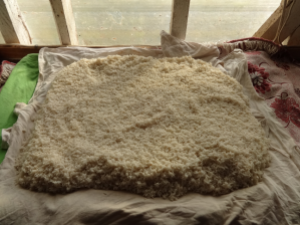
While nicely colonised, cracking the rice grain open showed that the mold could still penetrate the grain a bit further.  Also, deep inside my gnomish heart, that mad, self-sufficiency streak wants the Aspergillus mold to start fruiting (ie. make spores) so that I can collect the yellow-green spores and replenish my supply for future batches.  While not impossible to bring into Belize, the starter cultures are difficult to order and then ship into the country without some hoops having to be jumped through (I’ve got a friend in Japan who feels like he owes me a favour but I don’t want to collect on his good will yet!).  Being able to harvest my own spores would free me from this dependency on factors that I don’t have control over.  Let’s see if I can pull it off…the plot thickens…

Colonised Rice Grains...not quite ready.
Colonised Rice Grains…not quite ready.

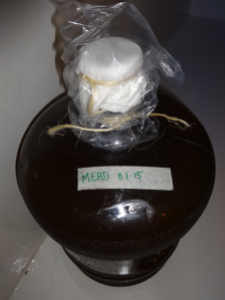
It is hard to assuage Fermentation Frenzy once it grabs hold of you so I had to find something to still my trembling nerves while waiting for the koji to continue its colonisation.  I finally decided to rack some mead that has been sitting around settling and aging…I had been dissatisfied with the way this batch has been clearing and decided to do something I usually don’t do:  use some gelatin finings to try and clear it a bit more.  I was concerned that perhaps it had not cleared well because of contamination and doing this would also afford the opportunity to have a quick taste.

Racked Mead with Finings Added.

This accomplished, the moment of truth arrived:  the presentation of a slightly cloudy glass of non-carbonated mead to the tasting expert, Munchkin.  Fortunately and happily (for both of us) the sampling test was passed and I received a smile of approval from Missus Munchkin!  Yosh!

The Taste Test.
The Taste Test.

Can’t wait to see what happens tomorrow!  Cheers to all!

(Summer!) Miso Madness III.

Gnome.Self.SatisfiedIt continues to be hot, dusty and windy…in Sardinia we would say that we are afflicted with scirocco, that wind that comes from the Sahara and North Africa…it feels very similar and makes one feel terribly miserable.  Yes, you guessed it, headache is back today.

However, my life is not only bearable but actually exciting…the Spirit of Aspergillus has taken residence in the carefully prepared rice and the next twenty-four hours will lead to our desired goal…rice koji!

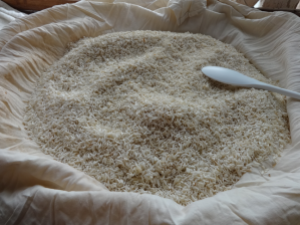
It is always nice to open the bundles and inhale the fruity, mushroomy bouquet of a successful inoculation.

The opened bundles.
The opened bundles.

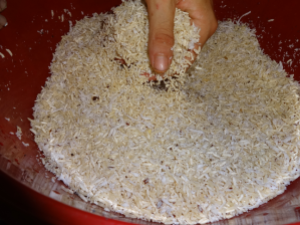
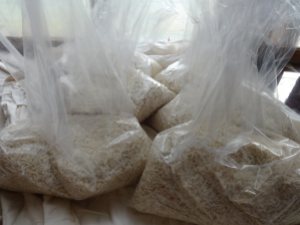
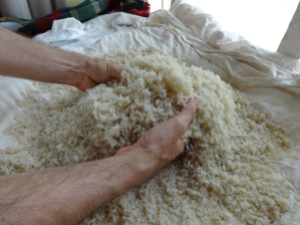
The rice grains are covered with a white, cottony growth and you can feel the “live” heat (like having a cat on your lap) emanating from the rice.  Everything needs to be transferred into bags as it will overheat and spoil if kept in a bundle.

Rice divided up into six 10 pound bags.

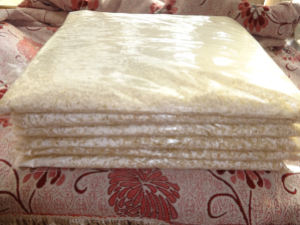
Time to flatten it all up, stick a temperature probe in and wait another twenty-four hours.

Nice neat stacks.
Nice neat stacks.

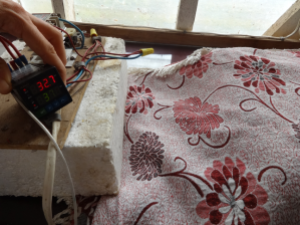
Keep an eye on the temperature…the bags make it easy to spread everything out if cooling is necessary (especially since I’m doing this in “summer” and you’re not supposed to ;-p).

Keeping an eye on the temperature.

This link takes you to the more detailed instructions I’ve written in making rice koji in the Bored-in-Belize Library if you ever want to do this yourself:  Making Rice Koji.

Since we already know that we will be making some shinshu miso from this batch of rice koji, we’ve started the preparation of the beans:  cleaning, washing and soaking overnight.  We use black beans and not soy beans because a) they (soy) are harder to find and b) we are making Belize/Central American shinshu miso and we want to remain culturally appropriate.

Black beans for making miso.

More tomorrow…

Miso Madness II.

Gnome.Pushing.Up.GlassesCor blimey it’s a scorcher today!  I suddenly feel very relieved that I am on restricted duties.  The sun is blazing down, the earth is developing big cracks and the ducks, who normally can’t be bothered to walk the two hundred metres to the pond actually went for a dip to cool off and clean up.

Hard core miso purists will probably look at this post and scoff at me for trying to make miso in “summer,” so to speak (dry season here is like summer), since you are supposed to make it in winter because …….. (fill in blank with the usual stuff that poncy, purist, fundamentalists say when they are trying to put you down and show how much smarter they are than you but I digress…).  So, anyway, this is day two of Miso Madness (made in the summer, ha, ha, ha!):

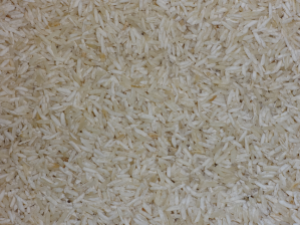
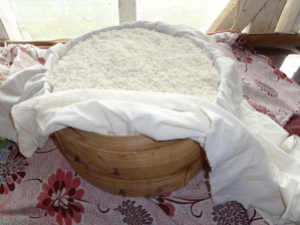
Yesterday’s rice was soaked, drained and steamed.

Overnight-soaked rice being drained thoroughly.
Loading bamboo steamers with rice.

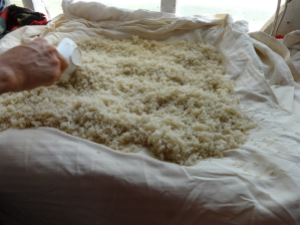
Then the cooked rice had to be spread out and cooled before inoculating with the right Aspergillus mold.

Cooling cooked rice.
Mixing mold spores into cooled rice.

The most pleasurable part of the process is making the final bundle to incubate the rice and get one step closer to rice koji.

The finished bundle.

Tune in tomorrow for the next stage in making rice koji…