
So you wanna make some rice koji…maybe to then make sake or miso or some fancy fermentation there is no name for…you’ve come to the right place.
The quantities used here are to make enough rice koji to then proceed to make a five gallon bucket (yes, a pig-tail bucket!) of shinshu miso. A word of warning, this is going to end up taking four or more days to make, so be prepared and once you start you can’t really stop until it is all done.
Start in the evening:
- Take 30 cups of rice (which is approximately 6kg of rice) and rinse with plenty of water until said water runs clear.
- Keep the rinsed rice in a bucket or basin with at least 7.5 litres (say 2 gallons) of clean water. Allow to soak overnight.
Next morning:
- Take the soaked rice and drain all of the water off. Spread the rice out on some clean towels or other absorbent cloth to drain even more water for 5-10 minutes.
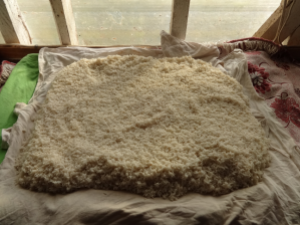
Soaked rice spread out on cloth to drain. - Line some bamboo steamers (we used two big ones) with cloth and pack the rice into them.
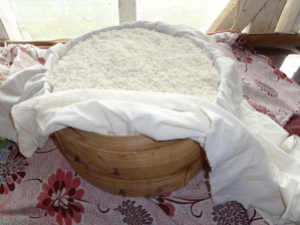
Rice packed into two big bamboo steamers. - Pressure steam the rice in a big pressure cooker, keeping the bamboo steamers off of the water by using a can cut open at both sides. Half an hour is probably enough but I usually go for 45 minutes to an hour at 15PSI.

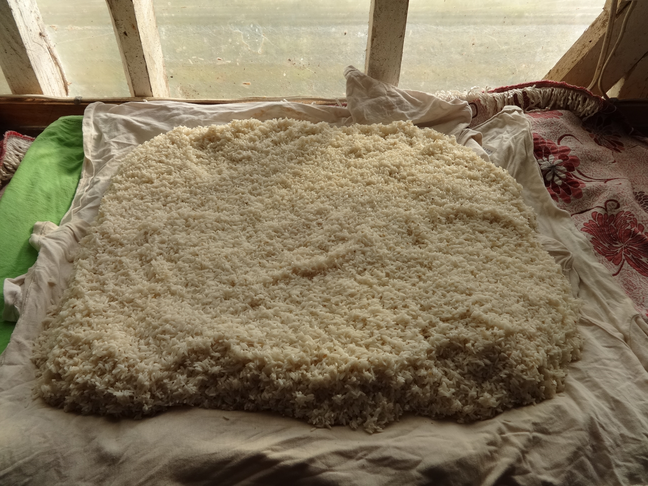
Pressure Steaming Rice. - Get the rice out of the cooker and bamboo steamer onto a clean sheet which is on top of another sheet, a clean towel and a blanket.

Steamed rice straight out of bamboo steamer. - Break up the rice and spread it out to cool.
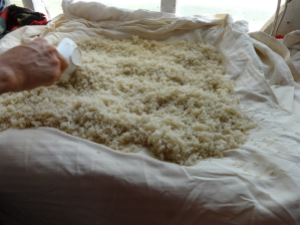
Spreading out rice to cool. - I’ve covered it with plastic so that it doesn’t lose too much moisture (pressure steaming yields quite a dry result).

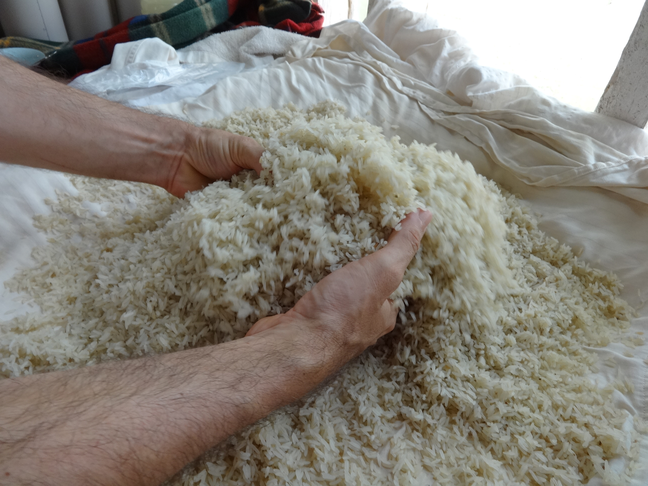
Plastic cover to reduce evaporation of water. - Once the temperature drops to about 45C, use clean hands to mix 5 teaspoons of koji spore powder (you have to buy this) into the rice. Be very thorough.

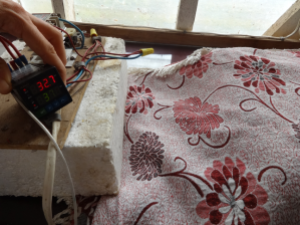
Mixing spore powder into rice. - Bundle the rice up in each of the different layers (sheet, sheet, towel. blanket) with a thermometer in the centre of the rice (I use a temperature probe). This is done twice since there were two bamboo steamers full of rice.

One bundle done. - Wrap both bundles into one big super-bundle and watch out to keep the temperature between 27-35C for the next 24 hours.
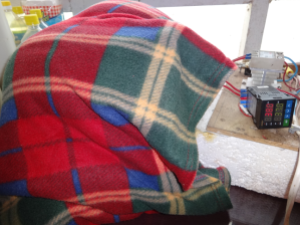
Full bundle complete with temperature probe in situ.


Next Day is quite simple and straight forward:
- Open the super-bundle and enjoy the fruity, mushroomy bouquet of Aspergillus infected rice. Feel the heat of the bundles, this is the closest you can get to feeling something inanimate infused with life (sorry, don’t mean to go all airy-fairy).
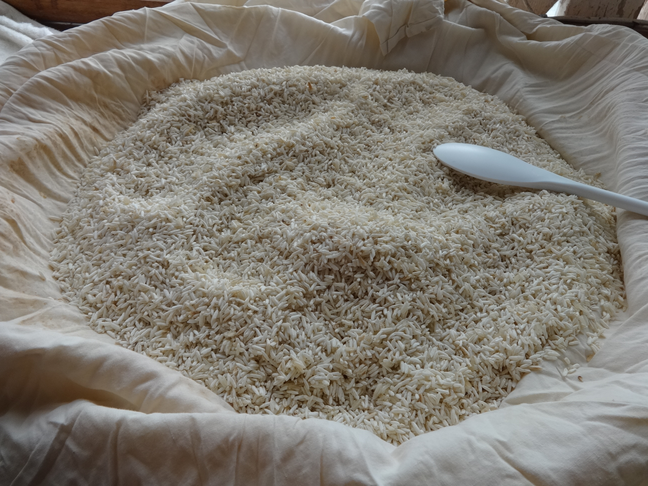
- Using clean and washed utensils spread out the rice to cool it down a bit and break up all the lumps.
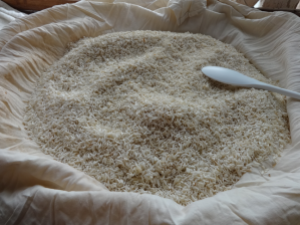
Break up and spread out the rice. It should be visibly covered in white cottony growth. - The professionals say to use trays…I’ve found that 10 pound bags work better, especially if temperature control becomes an issue. Fill the bags up with about a kilo of the rice…six bags in total.

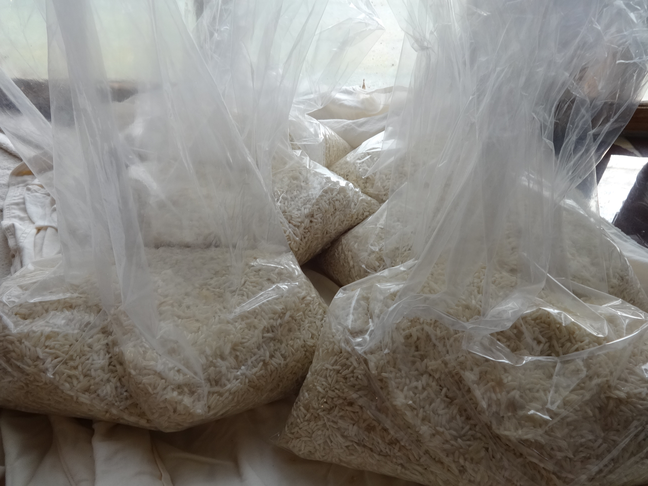
Filling up 10 pound bags with rice. 
Six bags total (about 1kg of rice in each bag) from two bundles. - Flatten the bags out and stack them on top of each other with the thermometer or temperature probe in between the third and fourth bags.

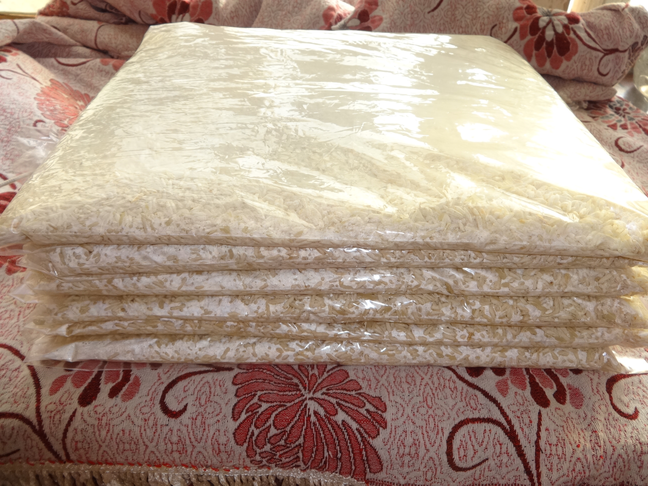
Flattening out the bags on top of a blanket with the opening of the bag turned over. 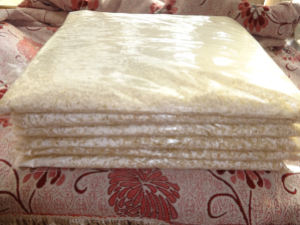
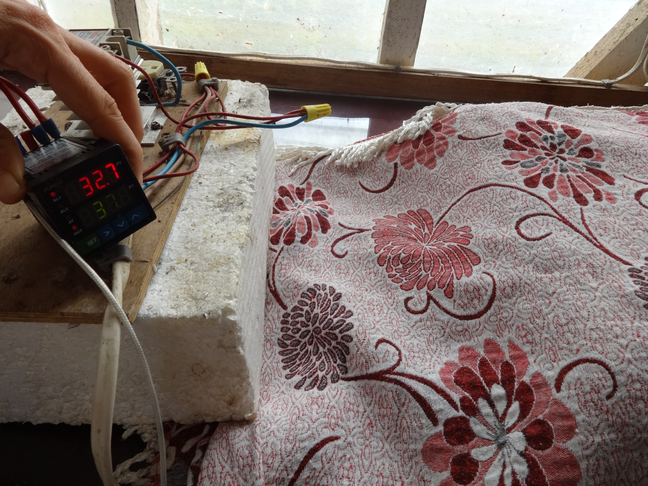
The six bags on top of each other with the thermometer in between. - Lightly cover with a blanket. During the day this should be enough to keep the temperature right (between 27-35C); at night, best have extra blankets, depending how cold it gets.
Covered bag with temperature probe working. - Wait another twenty-four hours.


Next Day:
- The main issue is to make sure the temperature stays right, especially if this is being done in summer (which is when koji and miso are not supposed to get made). If it gets too hot, remove the blankets, shake the rice around in the bags, letting some air in and flatten everything out again.

Cooling Bags of Rice Koji. - Take a couple of grains and break them in half. The chalky whiteness around the rice grain should penetrate at least half-way into the whole grain (this bit reminds me of the old toothpaste commercials where they dipped a piece of chalk into some coloured water to show how good and protective X brand of toothpaste is…).
- If this has not happened continue same same for another twenty-four hours or longer.
- Once the required consistency of rice grains/mold growth is achieved the koji is finally ready. It can be used directly to make miso, ferment into sake, etc. It can also be frozen, or dried, or dried and frozen for later use.
- If the colonisation process continues, there will come a stage where the mold starts to fruit and produce yellow-green spores. This is just part of the life-cycle and is not a bad thing. The spores could be collected in fact to replenish one’s store of starter culture. Anyway, spores or no spores, the koji is good for use.

There you have it. Rice koji home-style. Good luck with yours!