Tag Archives: Stingless Bees

Bee Electricity Problem…

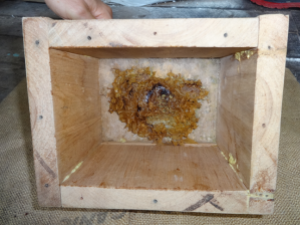
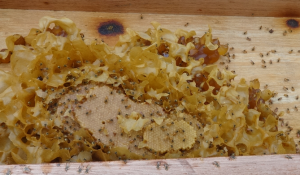
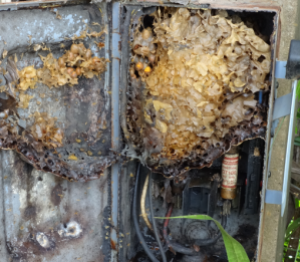
Gnome’s been trying to get those stingless bees in the Gnome boxes (TM) for ages.  But of course, we’ve noticed that nothing on this farm listens to us or reads the same manuals.  This lot of bees decided that our electricity disconnect box was just the thing for building a nest.  The BEL guys came round to inspect our meter last week and discovered the sticky bee nest.  Of course, we were told that we had to replace the box.

Bees in the Switch Box.

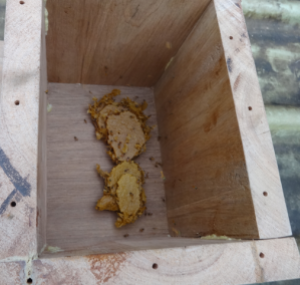
On the upside, we managed to get a litre of honey out of the box. 😉

So we ended up having to replace the meter base too because the door was broken…two expenses!!  Of course Munchkin was none too pleased…these silly metal boxes actually do cost a bit of money.  Then we had to arrange for the electrician and the BEL (Belize Electricity Ltd) guys to come at the same time because the power had to be switched off for the boxes to be replaced.  Gnome:

“…how in Belize can you co-ordinate two different sets of people to come to your place at the same time…the mind boggles…”

(usually you can’t even organise an appointment with one person!)

Anyway, the conjunction of stars must have been absolutely bang-on perfect and they all turned up.  They were all actually really helpful because we had a lot of spiky pandanus growing around the electricity meter and pole;  they assisted in chopping down the over-grown (they are about 10 metres tall!!)  obstructive plants.  Luckily here in Toledo,  everyone carries their own machete just in case there is grass or a plant to chop down.  The BEL guys even got up on their cherry picker and cut some of the plant down for us.  Thank-you, thank-you we really appreciated the extra help!!  Every-one left with bananas from the farm and our hand-made soap.

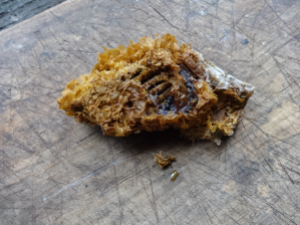
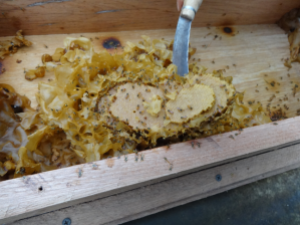
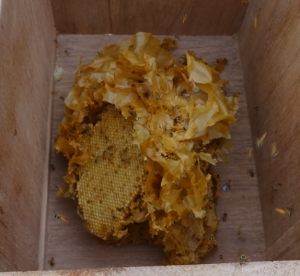
We are glad that it all turned out well in the end.  Look at the sticky mess the bees made:

Messy Bees.

A New Hive For a New Colony.

Gnome.SmilingGround-breaking News  in the world of Stingless-bee Beekeeping: Today was a good day to check on the bees.  Unfortunately my last transfer was not successful (bringing my success rate to a ridiculous 50%) and it was time to clean the dead hive and make some improvements for another transfer.

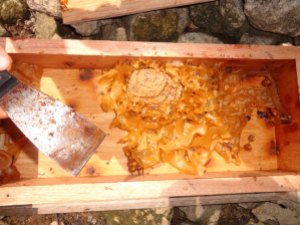
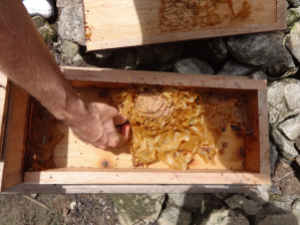
Dead Brood Comb in the Brood Chamber.
Dead, Rotting Brood Removed.

After cleaning and disinfecting the hive I added some improvements to deal with the cause(s) of this problem:  parasitic fly and too much space. Number One:  Seal the hive with beeswax.  No excuse for this really…it has been laziness on my part.

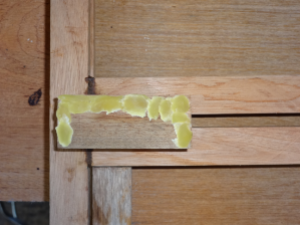
Sealing up the Hive Parts with Bee's Wax.
Sealing up the Hive Parts with Beeswax.

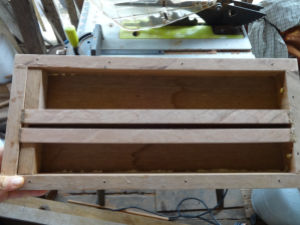
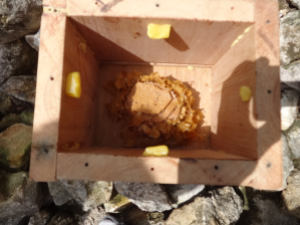
And Number Two:  Bypass the honey pot chamber for three to six months (maybe longer) until the bees have completely taken over the brood chamber using blocks of wood that fit together in such a way that they only leave a small passage through the honey chamber.

Blocks of Wood Bypassing the Honey Chamber.

To commemorate this simple hive, I have called it the Gnome Mark III Stingless-bee Bee Hive. The previous UTOB Hive ended up having two established colonies (again), one in the honey chamber and one in the brood chamber.

Brood in the Honey Chamber (again).

This is what I transferred into the new GM III hive today.

Removing Brood Comb.
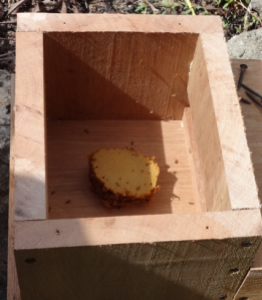
Brood Comb Successfully Transferred.

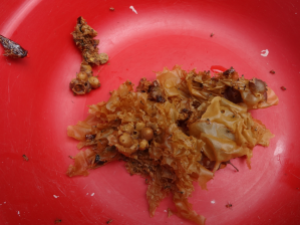
The rest of the Honey, Pollen and Wax were harvested for a Munchkin with a sweet tooth!

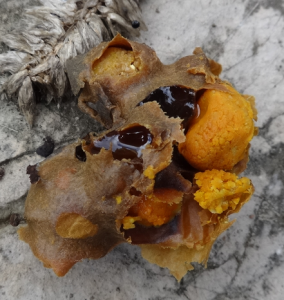
Our first small harvest of honey, pollen, wax and propolis.

May we all experience the joy of fresh stingless-bee honey! Cheers!!

It Is Time for More Bees: The Gnome Mark II Bee Hive!

Gnome.With.BoxAbout a week ago, I opened up my stingless-bee, bee-hives to check up on the little darlings and discovered that in one of the hives the bees had started to build brood comb in the honey pot storage area.  When I saw it, it was about half the size seen in the photo below.  It doubled in size in a week!

Brood Being Built in the wrong place.  This is where honey is supposed to be stored!
Brood Being Built in the wrong place. This is where honey is supposed to be stored!

Out of curiosity, I got in closer to have a goosie:

Brood Comb Being extended with honey and pollen pots visible in the periphery.

It would appear that the bees have built an auxiliary brood area with new queen and everything in the middle of the honey chamber, co-existent with the original brood in the brood chamber with its own queen; so, two hives in one.  I hypothesise that this is due to the depth of the honey chamber (which is currently set at 2 3/4 inches).  The honey pots are about 1 inch tall so it is obvious that there is plenty of volume for a “nest” of brood comb even over a layer of honey pots.

I decided to test this hypothesis by reducing the depth of the honey chamber to 1 1/4 inches.  Here is the new hive, which I have called the Gnome Mark II Modified UTOB Hive:

The New and Improved Gnome Mark II Modified UTOB Hive.

Compared to the original UTOB Hive:

Original UTOB Hive.
Original UTOB Hive.

I admit, not a Mind-Boggling Difference but putting it together in Dry Season Super Heat Time made me feel like it was something amazing and deserving of its own name!

Anyway, I took the “extra” brood out and put it in the brood chamber of the new hive:

Transferring Brood from the Old Hive.

…Into the new hive:

Brood Placed in the New Hive.

Here’s another shot after more brood was moved over:

All the Brood Moved to the New Brood Chamber.

And that was that, all the hives were sealed up and put into their places.  Now it is time to wait another month or so before checking on them again…

I love stingless bees!

Gnome.with.Drink

Curing Tobacco With Pressure (and a Little More on Bees)!

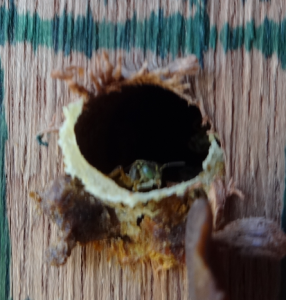
Gnome.Straight.SmileLet’s start with the bees since I’m really excited about them.  Looks like they have been busy little…well, bees…they’ve started building their entrance tube…

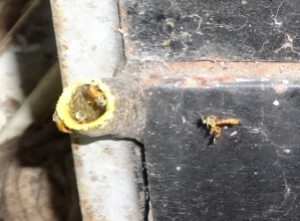
Bees Working on Their Entrance Tube.

Sorry about the pics, you can tell I really can’t take pictures to save my life!

Anyway, about tobacco.  Last I talked about it, I didn’t know whether it was going to dry properly but fortunately the weather has cooperated and I managed to get almost all of it in a condition to proceed with curing.

After it turns brown, I make a mixture of honey, water and my chocolate essential oil which is then put into a spray bottle and sprayed onto the dried leaves.  I had a photo of this but all you could see was my big hands…The sugar in the honey helps the leaves stay moist but allows them to dry without being brittle (in the finished product).

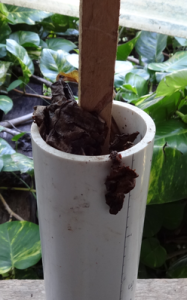
What I do next is stuff everything into a three inch PVC pipe fitted with wooden blocks and use a stick to stomp all the leaves in, like so…

Filling Up Tube With Tobacco Leaves.

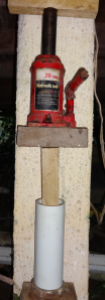
After all this has been done, I get my 20 ton jack, go under the house and do this…

Applying Pressure to the Tobacco Leaves.

Everyday, I increase the pressure until the leaves cannot be compressed anymore.  The leaves will continue to ferment and develop all of those wonderful aromas that nicotine addicts love, especially since extra chocolate oil was added.

And then…you keep this whole setup going for six months to a year before it is done…it turns out to be a very good way to stop smoking tobacco, afterall, surely you can’t still be physically addicted to nicotine after six months to a year!!

Cheers!


Messing With The Bees!!

Gnome.OroToday I moved some bees into my new hives!

I had a colony of stingless bees living in my electricity breaker box; needless to say, not the best place for them…

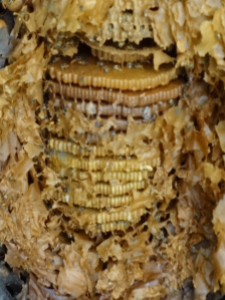
Wild Bee Hive in Breaker Box.

The first thing was to remove the wax surrounding the brood chamber…

Exposed.Brood.Comb
Brood Comb Exposed.

I then had to carefully pry all those combs out in out in one piece trying not to damage anything as much as possible.  I then carefully halved the comb (since I made two hives) and put them in their new brood chambers…

Half.Brood.Comb.in.Brood.Chamber
Half of the Brood Combs Gently Placed in Each Hive.

The covers were then all sealed up and the hives moved closer to the house for protection and observation.

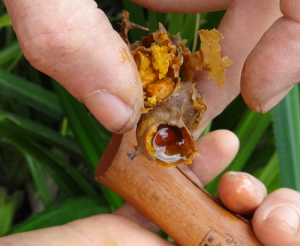
This was also the first time we tried stingless bee honey.  It was delicious; sweet but more watery than normal honey and with a truly intense floral aroma.  It was like drinking liquid flowers.  We also tried some of the pollen and the only word I can think of to describe it is amazing.

Unlike the bees we are familiar with, the honey and pollen is stored in pots…

Stingless Bee Honey and Pollen Pots.

Here’s a closer look without my grimy paws in the way…

Honey and Pollen Pots.

I’ve spent the whole morning looking at my new friends and they are starting to zoom in and out of their new homes, making it nice and comfy for themselves.

I can’t wait to build more hives!!!

I hope you are having as wonderful a day as I am!!

I’m Going to Keep Stingless Bees!

Gnome.SmilingI think our local stingless bees are really cute, the species I have nesting in one of my old tool boxes is Tetragonisca angustula…

Tetragonista angustula in one of my old toolboxes.

They are nice and friendly and you don’t need any fancy beekeeping equipment since they don’t sting.  It seems like a better start to beekeeping to me than going for Africanized Bees.

They don’t make much honey apparently, only about 1kg a year but what they do make is supposed to be very medicinal…which is right up my alley.  They are also good pollinators for assorted crops.

Anyway, the point of all of this is that I made a couple of beehives in order to get this project underway…

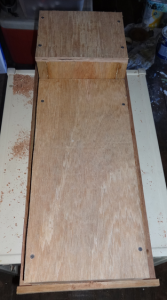
Finished Hive.
Finished Hive.

Yeah, I know, it doesn’t look like much and I suck at taking photographs (but I am better at stitching up your face with some 7/0 prolene, thankfully…sorry doctor joke!).

If you are interested, there is more detail in constructing the hives in Bored-In-BelizeMaking a Stingless-bee Bee Hive.

With the amount of honey these little darlings make, I’ll probably have to make about 100 hives…one day at a time…

Thank you to Leanne and Craig Knox for giving me the idea.

Cheers and have a good day!